Scanning & check command detects the specified "difference part"
of layer data in an instant.
For example, in case former data and outline data are compared and inspected, as for inspection visually, much time and time and effort are needed. If scanning & check command is used when such, it is easy operation and, moreover, exact inspection can be conducted in a short time (when data of 2mm of every direction is performed in the accuracy of 1 micron, it completes in about 15 seconds). The round inspection function for it to be automatic and to inspect the specified domain is carried.

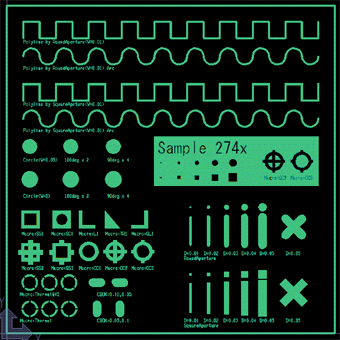
It is the target data. |

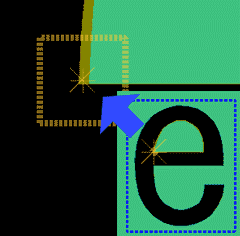
When a difference part is discovered, a mark sticks in this way.
A result changes with the accuracy and the thresholds which were specified. |
| Influence by the difference in dot size |
The case which made dot size high.
here Speed serious consideration it is .
Inspection can be completed quickly. |
 |
The case which made dot size low.
(the same thing as the upper data is used and the same range is inspected).
here Accuracy priority it is . Although time is taken rather than the time of lowering accuracy, the difference which cannot be discovered if accuracy is not raised can be discovered. |
 |
|